Getting started
Create a workspace, try the demo, and ship your first deployment in five minutes.
Diffbridge compares Salesforce orgs and git branches, shows you exactly what differs, and deploys the changes you choose. Along the way it skips Apex tests when no Apex changed, cancels stale CI validations automatically, and snapshots the target so every deployment can be rolled back.
1. Create your workspace
Open Diffbridge and choose Create a workspace (or Continue with Google / GitHub if your server has them enabled).
Enter your name, work email, a password (8+ characters) and a team name.
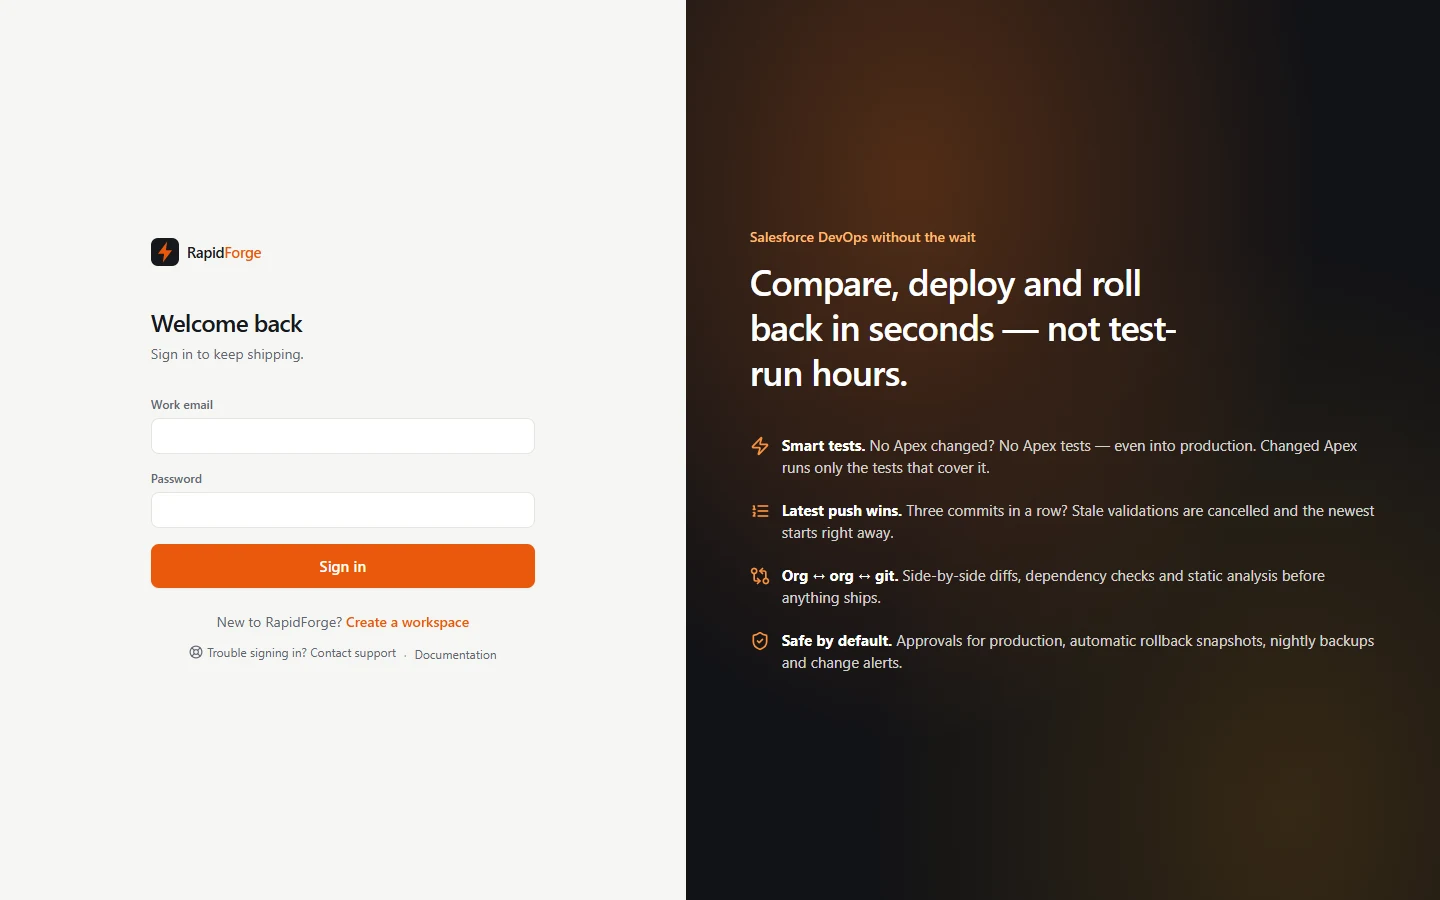
The sign-in page: email and password, or Google / GitHub when enabled You land on Overview. You are the workspace owner.
Joining an existing team? Use the invite link a teammate sent you instead of creating a new workspace. If you sign in with Google or GitHub using the invited email address, the invite is accepted automatically.
2. Try it with the demo workspace (optional)
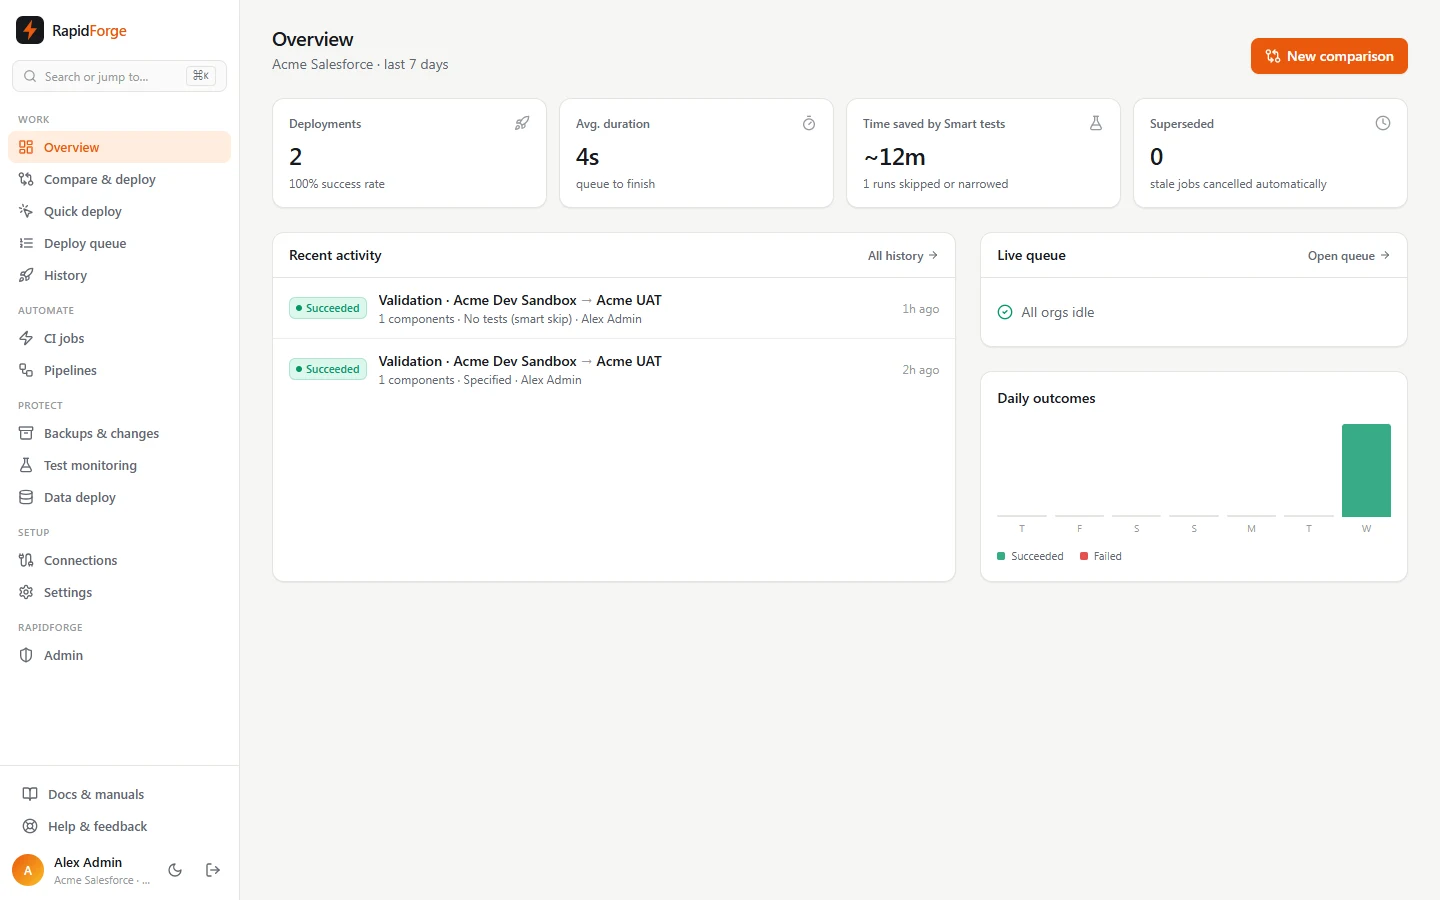
If your server runs in demo mode you'll see Load demo workspace on the Overview page. It creates:
- three simulated orgs: Acme Dev Sandbox (newest metadata), Acme UAT and Acme Production (oldest),
- a demo git repository
acme/salesforce, - a CI job Validate main → UAT that cancels stale validations,
- a Release train pipeline (Dev → UAT → Production),
- a nightly backup and test-monitoring schedule for Production.
Demo orgs behave like real ones: deployments take time, report progress, can fail and can be cancelled. Nothing touches Salesforce.
3. Connect your real orgs
Go to Connections → Connect org and use Log in with Salesforce (production, sandbox, or My Domain) or paste an SFDX auth URL. See Connecting orgs & repositories for details.
4. Your first comparison and deployment
Open Compare & deploy → New comparison.
Pick a Source (what you're deploying from) and a Target (where it's going). Either can be an org or, for the source, a git branch.
Leave the default metadata types selected and click Compare now. Diffbridge retrieves both sides in parallel and lists every component as New, Changed, Deleted or Identical.
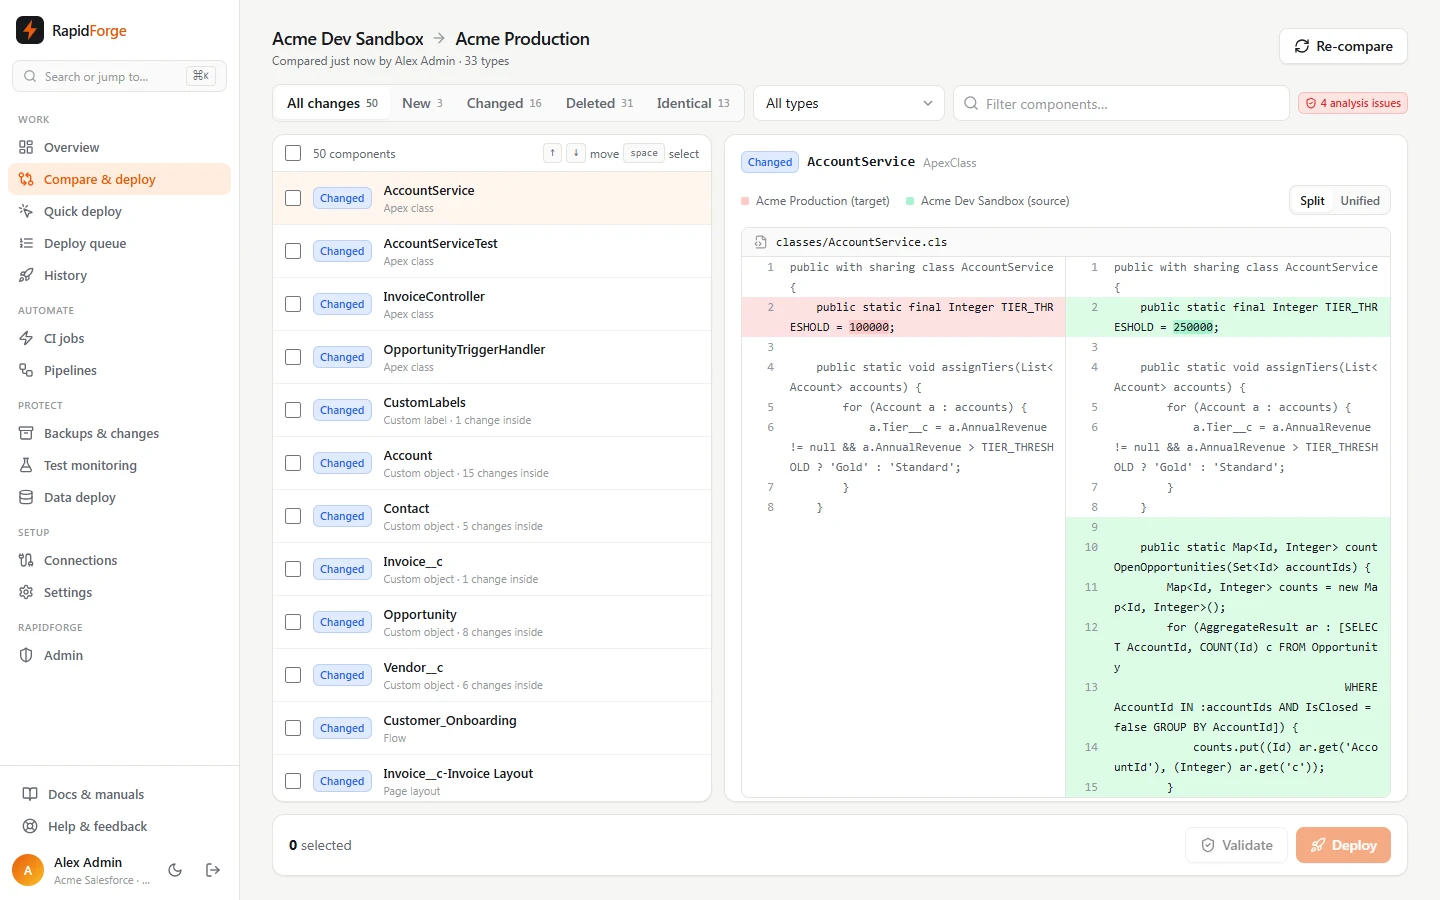
A comparison: status tabs, analysis issues, and the side-by-side diff of the focused component Click a component to see its side-by-side diff. Tick the ones you want to ship.
Click Validate (a check-only dry run) or Deploy. The panel that opens shows which Apex tests will run and why, any missing dependencies or code-analysis problems, and whether the job will wait in the queue.
Start it. You're taken to the live deployment page with progress, logs and errors.
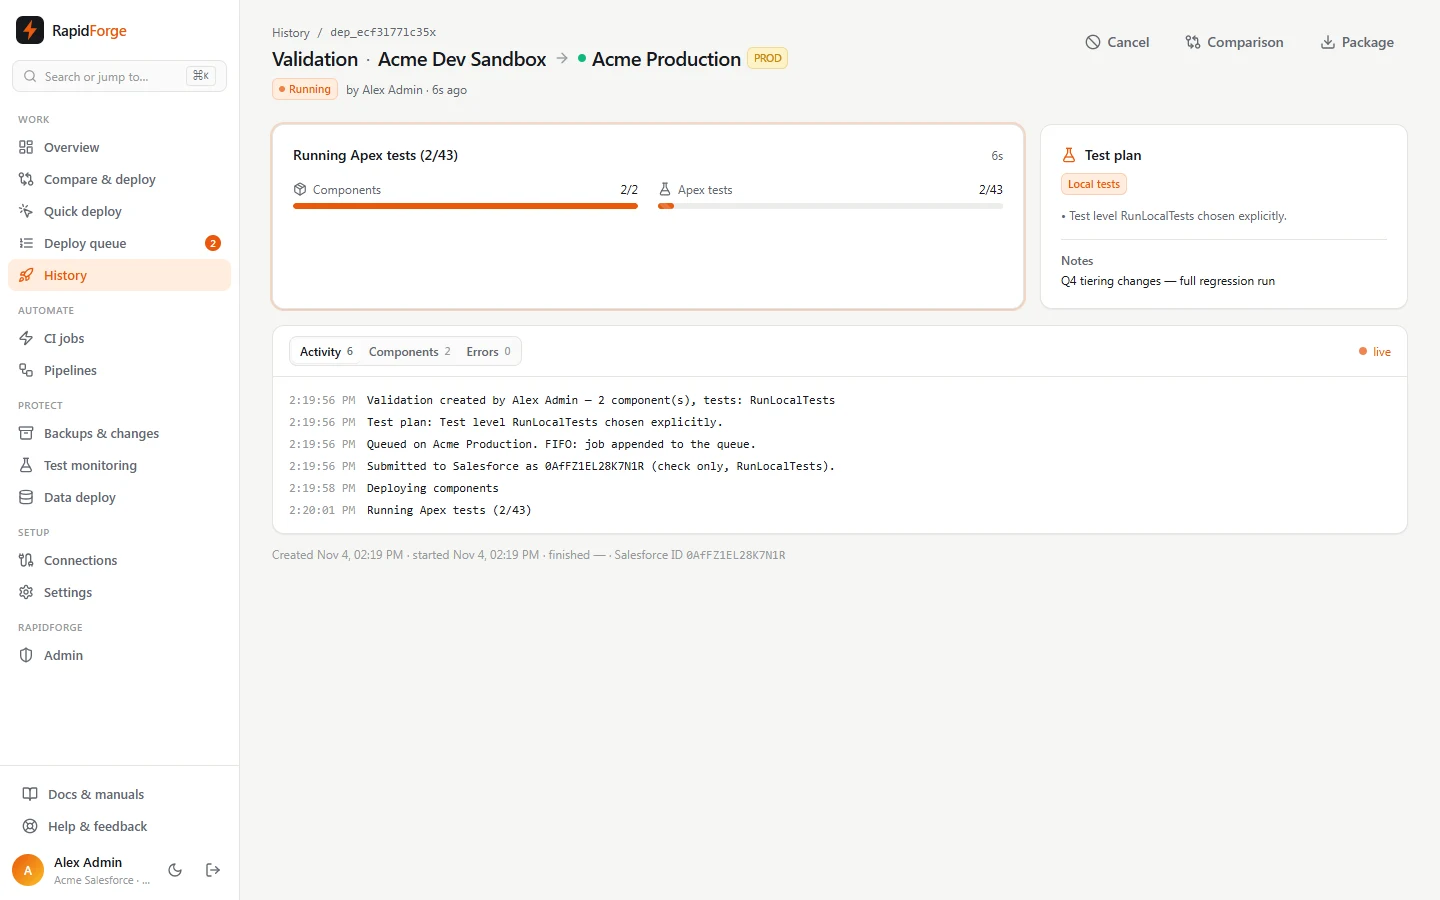
When a validation succeeds you can promote it with Quick deploy (no re-running tests) or Deploy this package. When a deployment succeeds, Roll back restores what was there before.
5. Automate
- CI jobs validate or deploy every push to a branch, or on a schedule.
- Pipelines let you promote Dev → UAT → Production with one click.
- Backups & monitoring snapshot production nightly and alert you to changes made outside your process.
Where to get help
Click Help & feedback at the bottom of the sidebar (or press ⌘K and type "help") to contact support, suggest a feature, or report a bug. We reply by email.